Creating a cell in AccountsAdvanced
Sometimes within CaseView it will be necessary to create a cell, for example within a user inserted note.
1. Navigate to where you would like to create a cell. You must then turn on Enable Editing by selecting View, Enable Editing.

2. Click on the cell button on the toolbar.

3. A screen will appear asking you to Enter Cell Number. We recommend that you name the Cell Number USX or an alternative unique prefix, followed by the sequential number.
You are then shown the below screen.
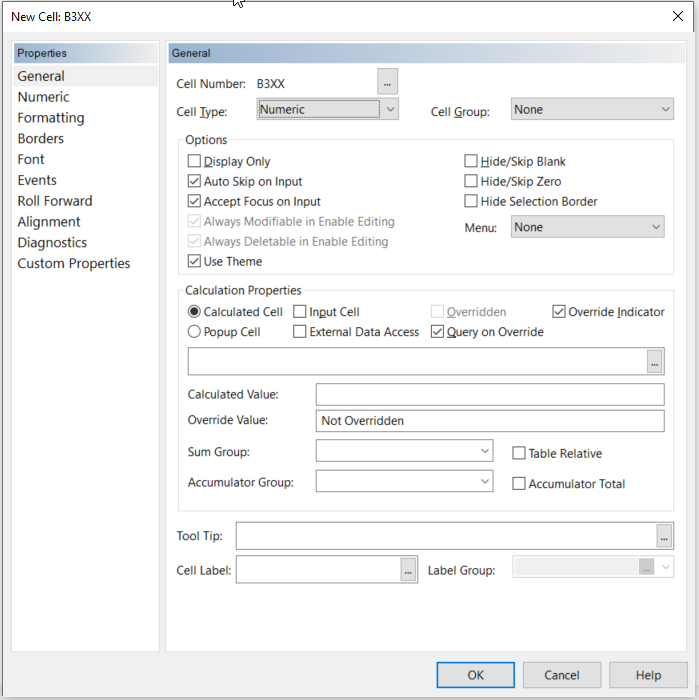
4. Within the properties of this cell you have many different options. You have several options on the left hand side such as creating borders and using different fonts.
There are six types of cells that you can create:
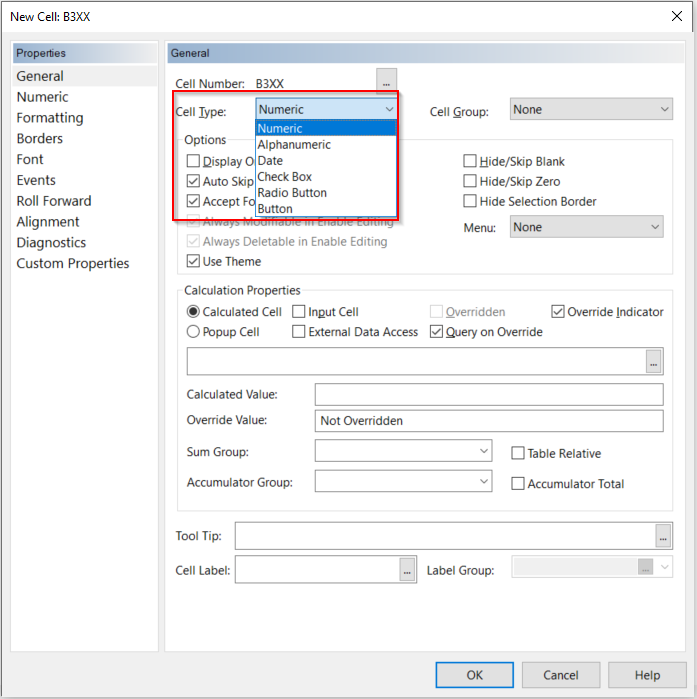
| Cell Type | Description |
| Numeric | Accepts any numeric value |
| Alphanumeric |
Accepts both numbers and text |
| Date | Returns cell values to a date format |
| Check Box | Can only be selected or deselected. Check box cells prompt users in the Form Mode to provide a yes or no response and are useful in controlling printing options. |
| Radio Button | Prompts Users in the Form Mode to provide a yes or no response by activating one radio button or another. A minimum of two radio buttons must be created in order for this either/or process to function. |
| Button | Areas that can be programmed to respond to a user's clicks by performing certain actions. |
5. Once you have chosen these properties click OK.
To get back into the properties you may either double click the cell, or right-click and choose Edit cell. This will bring you to the same screen shown above.

- Related template: AccountsAdv IFRS, Charity/Academy, FRS101/102/105 LLP
- Software platform: Working Papers 2018, Working Papers 2019, Working Papers 2020, Working Papers 2021, Working Papers 2022