Creating tables in Caseware
Creating a table
When tables are required in areas within the accounts, where the option to insert a custom note is not available, tables can be created in the Enable Editing mode.
Prior to creating a table, you will need to ensure that the area you wish to insert the table into is a user-input area
For example, An input text style is applied such as TextStdInput.
For guidance on changing the text style click here.
1. Access the Enable Editing mode via the View menu, or if you prefer select the icon beneath the Navigation tab.
Ensure that you are in the Edit Text mode, accessed via the icon beneath the Presentation tab.

2. To create the table, select Insert from the menu.
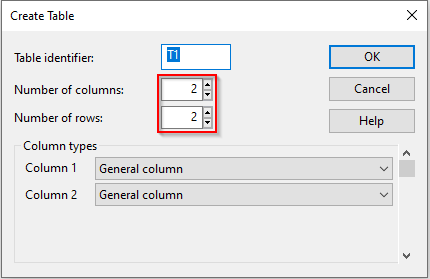
A box will appear where you are prompted to insert the number of columns and rows you would like your table to have.

3. A box will appear where you are prompted to insert the number of columns and rows you would like your table to have.
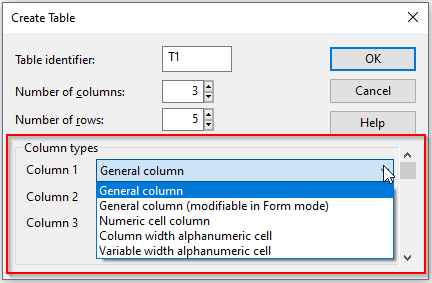
4. Once you have decided on how many columns and rows you would like your table to have, you are required to choose the column type by clicking on the drop-down list.
5. Click on OK where your table will now be created.

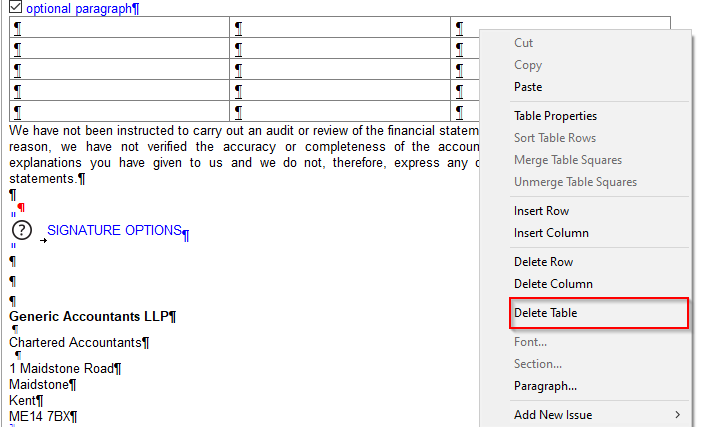
6. If you wish to remove/re-create the table, right click on the table and select Delete Table.
For further customisation of custom tables, please see the following articles:
Inserting rows and columns into tables
Editing cells and block cell edits
- Related template: AccountsAdv IFRS, Charity/Academy, FRS101/102/105 LLP
- Software platform: Working Papers 2018, Working Papers 2019, Working Papers 2020, Working Papers 2021, Working Papers 2022