How to use the Assign Mappings function
Table of Contents
Access the Assign Mappings function via the Account tab in Caseware Working Papers.

Use this function to assign mapping numbers to individual account codes in the working trial balance.
Prior to assigning mapping numbers to account codes, the account codes will appear on the left side of this screen. The mapping numbers will show on the right side.
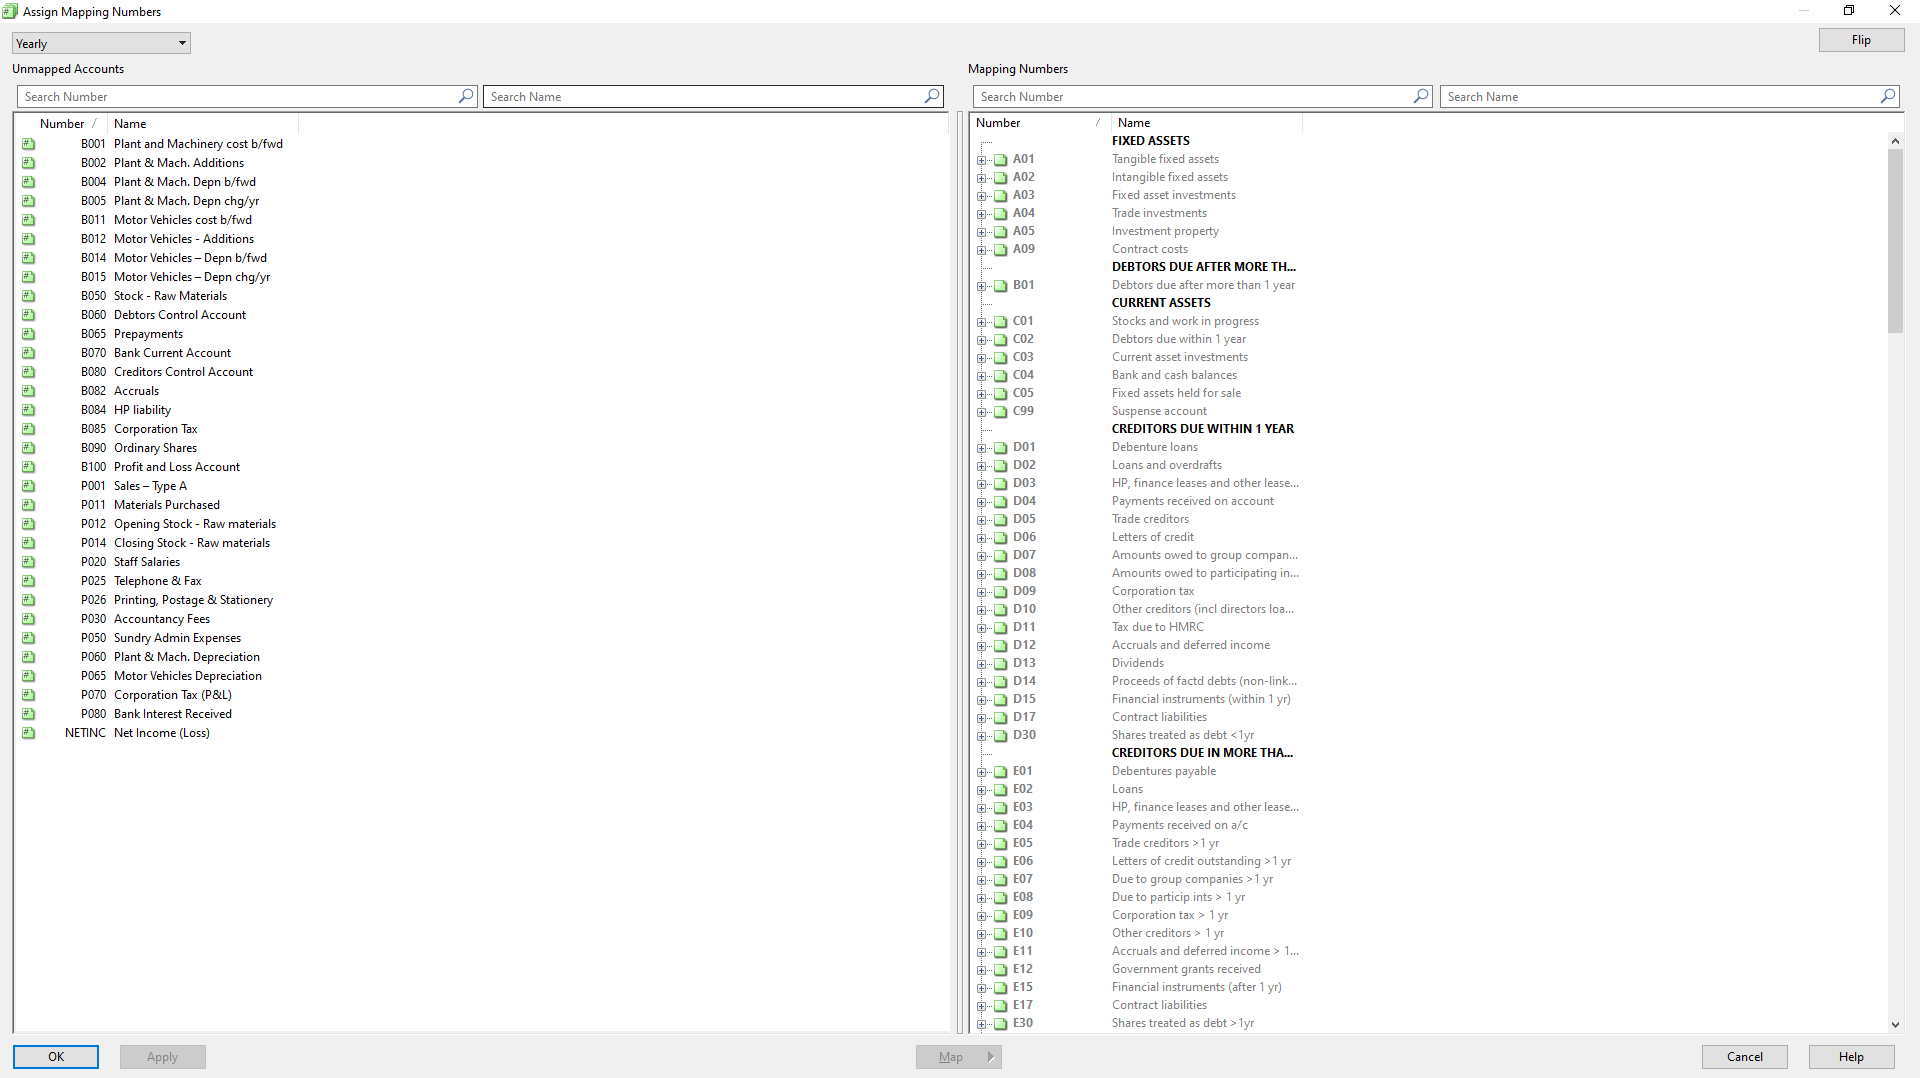
Unassigned/Unmapped Accounts
The Unassigned/Unmapped Accounts area lists all account codes in the trial balance that are not currently assigned to a mapping number.
Click on the Number or Name column headers to change the order of the account codes.
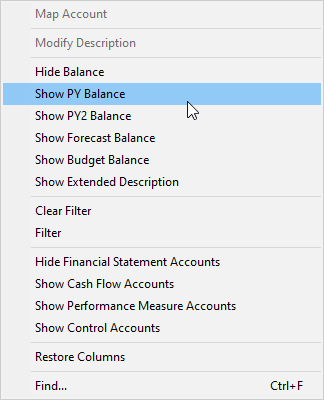
To show current/prior year balances or extended descriptions for the account codes, right-click and select the option to display.
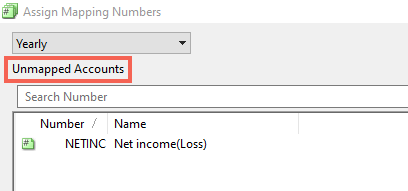
Note: NETINC must never be mapped and should always appear in the ‘Unassigned/Unmapped Accounts’ list.
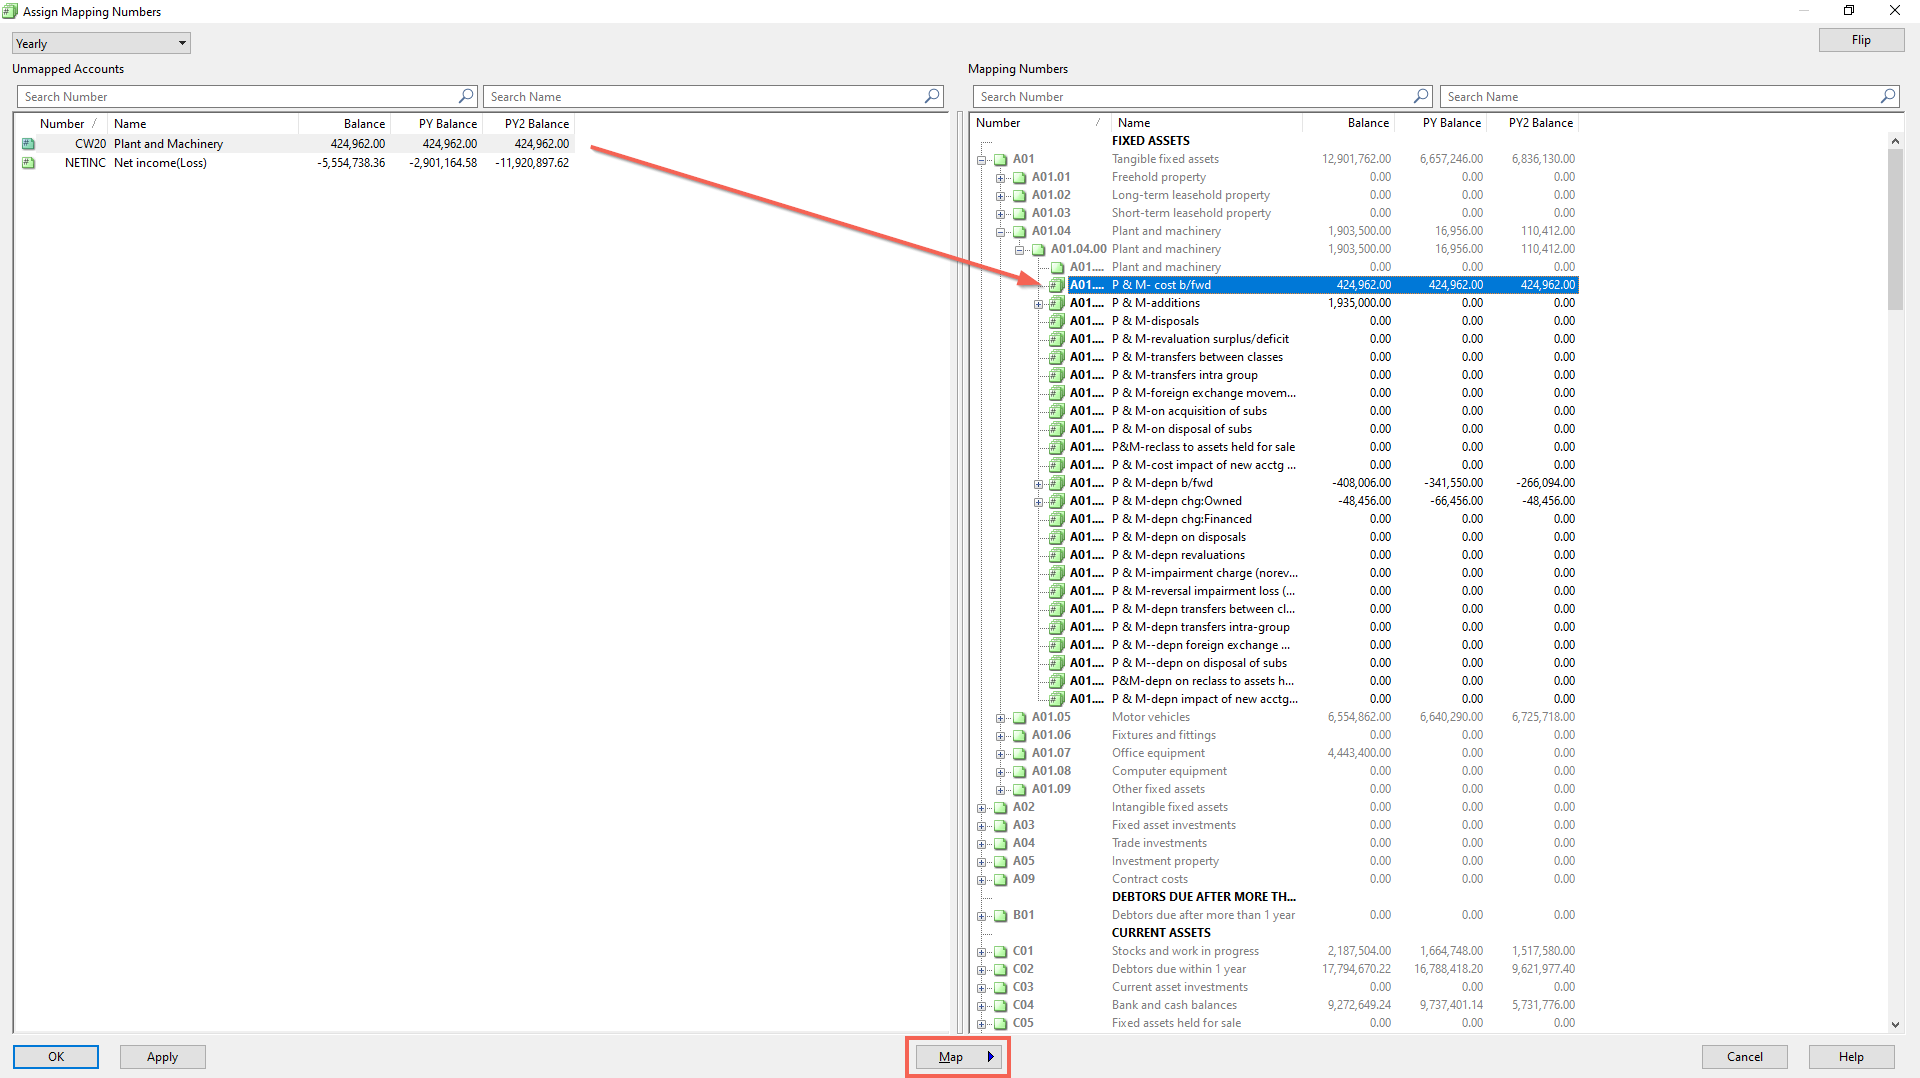
Drag and drop an account code to the required mapping number on the right side. Alternatively, with the account code selected on the left, select the mapping number on the right and click Map (or press the spacebar on the keyboard). Un-map account codes using the same method.
Use the Ctrl key on the keyboard to select multiple account codes to map.
To show current year/prior year balances or extended descriptions for the account codes, right-click within the Assign Mappings window select the option to display.
Mapping Numbers
The Mapping Numbers section lists all existing mapping numbers in a tree structure. Mapping numbers with a + next to them indicate that an account code has been assigned to that mapping number. To view the assigned account code, click the +
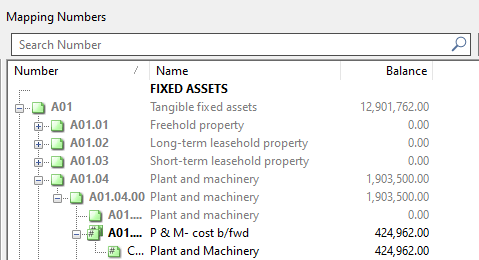
The top level mapping number (eg. A01) will show the total of all amounts mapped to the lower level mapping numbers beneath it (eg. A01.01.00.01).
Note: Account codes cannot be mapped to the top/upper level mapping numbers displaying the total amount.
You have the option to drag and drop account codes between mapping numbers.
To unassign an account code, select the code and click Unmap at the foot of the screen.
Flip / Normal
Click the Flip button to change the view to all unassigned flipped accounts. You can then assign accounts to the appropriate grouping.
Flipped mapping numbers show calculated flip balances (as if they were being shown in a lead schedule or on the face of the accounts).
This means the account codes assigned to a mapping number may not total up to the flip mapping number.
All accounts assigned to a mapping number are displayed, even if it does not contribute to the mapping number.
Note: The account codes that no longer contribute to their mapping number still show their full balance.
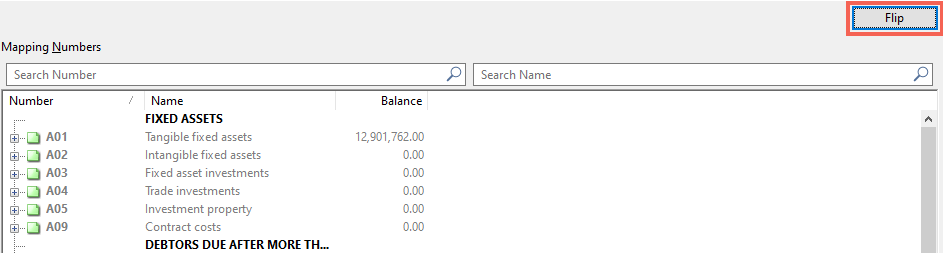
Click the Normal button (in place of the Flip button) to switch the view.
Apply
Click Apply to confirm the changes without closing the Assign Mappings screen.
Click OK to confirm changes and close the screen.
Tip
By right-clicking within the Assign Mappings dialog, you can quickly do the following:
- Edit mapping number properties.
- Add new mapping numbers or delete existing mapping numbers. Quickly delete mapping numbers by highlighting them and using the DEL key.
- Show or hide balances/prior years.
- Show or hide extended descriptions.
- Show or hide certain types of accounts (financial, cash flow, performance measure, or control) and their associated map numbers.
- Show or hide the Number column.
- Switch the order of the Name and Number column.
- To view either table sorted by account number or account name, click the header of the column by which you want it sorted. Click again to view in reverse order.
- Where items are grouped in the list, you can expand or collapse the groups.
- Related template: None
- Software platform: Working Papers 2022, Working Papers 2023