Importing a Trial Balance from Excel/ASCII
Note: If you are importing the map code from Excel please ensure they are correct for the relevant template
One of Caseware’s key features is the ability to import data directly from an Excel spreadsheet. This can be achieved without the need to save the data first in a CSV format.
Importing from Excel
1. Before importing any external data, ensure that the CaseWare chart of accounts has been removed from the Working Trial Balance view.
Note: that this process needs only to be carried out on new files prior to import. Existing files do not require this process to be run.
2. Select File, Import and Excel File, which will open the Excel Import wizard.
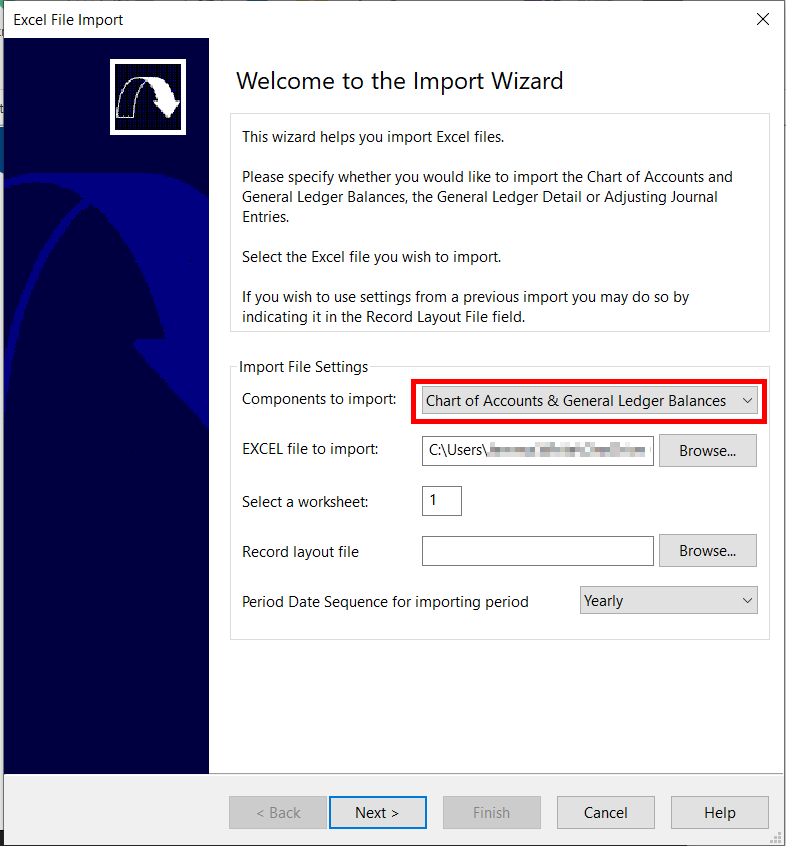
a. The Components to import options, allows users to select either the chart of accounts and general ledger balances or the general ledger detail.
Each of these types of information must be exported to a separate Excel file before importing into Working Papers (e.g., one file for the chart of accounts and one for the detailed GL).
Because the information in these Excel files can overlap, it is necessary to perform the import in a specific order.
b. Locate the Excel file that needs to be imported using the upper Browse button.
c. Enter the number of the worksheet in the Excel file that contains the data to import, into the Select a worksheet option.
d. If you have a previously saved record layout file, click the lower Browse button to locate the file and enter its path and name automatically.
These files have an extension of .vtb to distinguish them from other Excel files.
e. Specify the Period date sequence for importing period balances. The options available will depend on the date sequence defined in the Engagement Properties of the file.
f. Select Next to move on to the next screen.
3. To ignore header and footer rows during the import enter the appropriate number of rows in Exclude First and Exclude Last fields as shown above.
Or you can tick the boxes next to the row to exclude those rows from the import.
The selected rows will then become greyed out.
Select Next to move on.

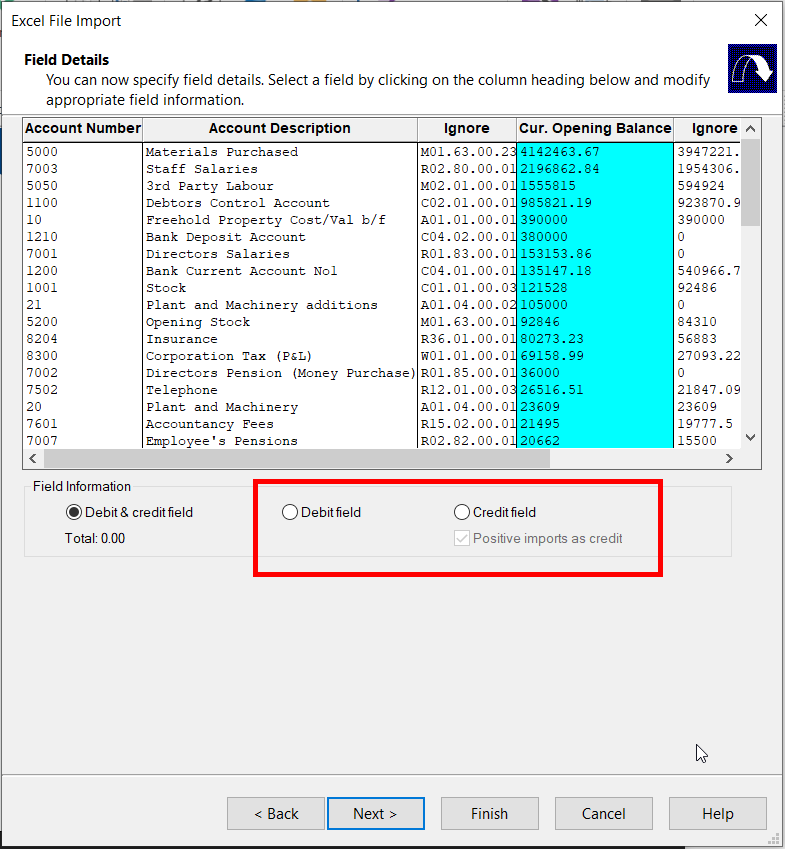
4. To specify the field details select the required field by clicking on the column heading below and modify the field’s information in the Field Information area.
As a minimum, you must select the account number heading for the column containing account identifiers in the data file.
The import cannot proceed until this is selected.
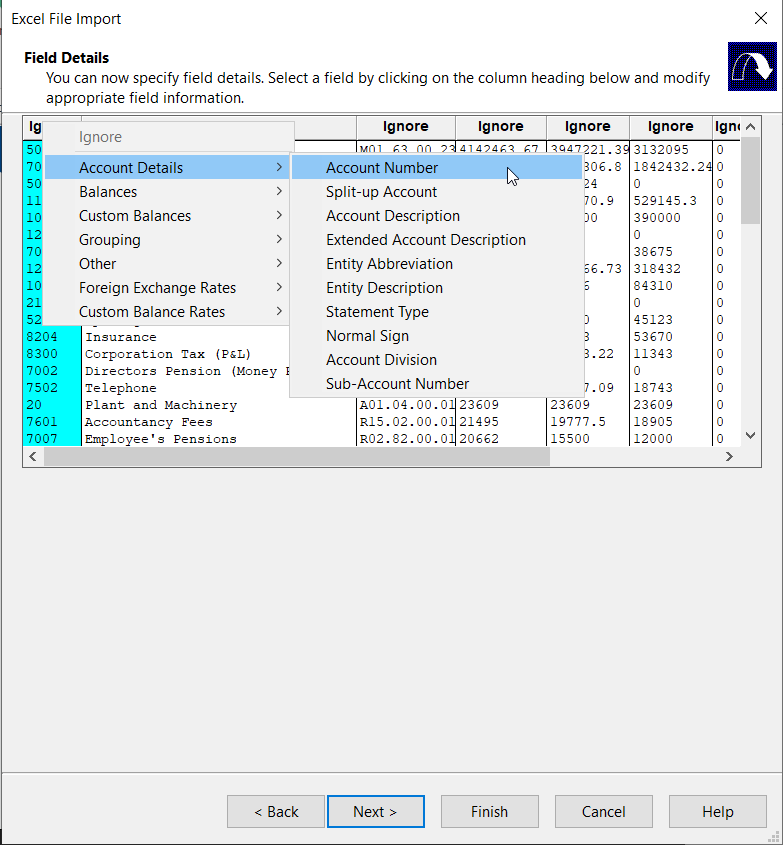
5. As each column heading is selected, settings appear below to make further specifications for that particular data type.
For example, if the DR and CR figures are displayed in separate columns within the Excel file.
Click Next to move on.
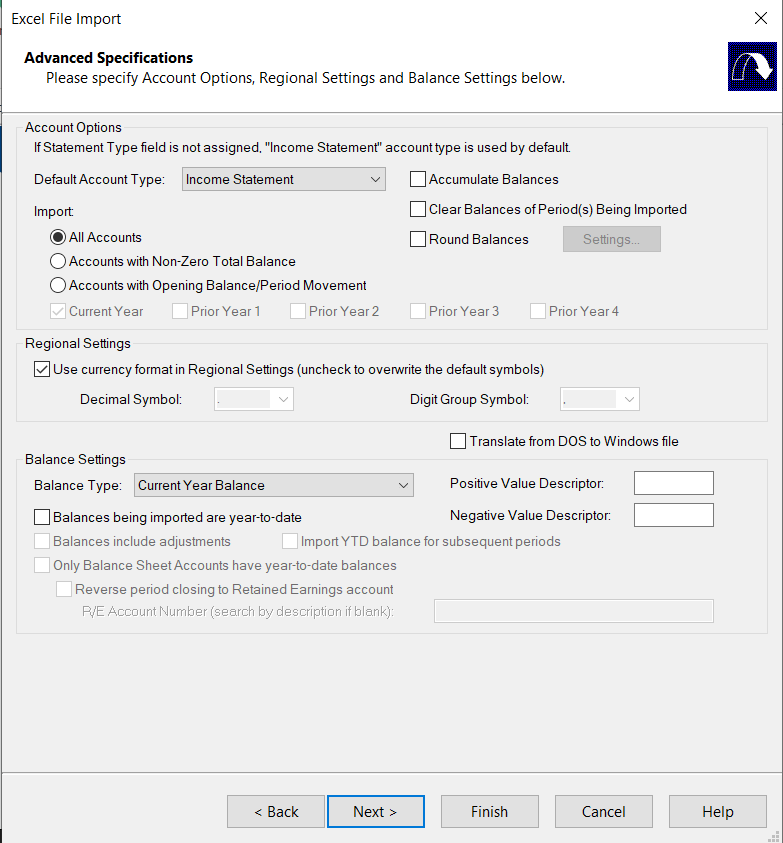
6. In the Advanced Specifications screen are the options for the account, regional settings and file settings.
They are presented clearly for users to set as needed, although everyday use should not require changes to these fields.
Click Next on this and the next screen to move on.
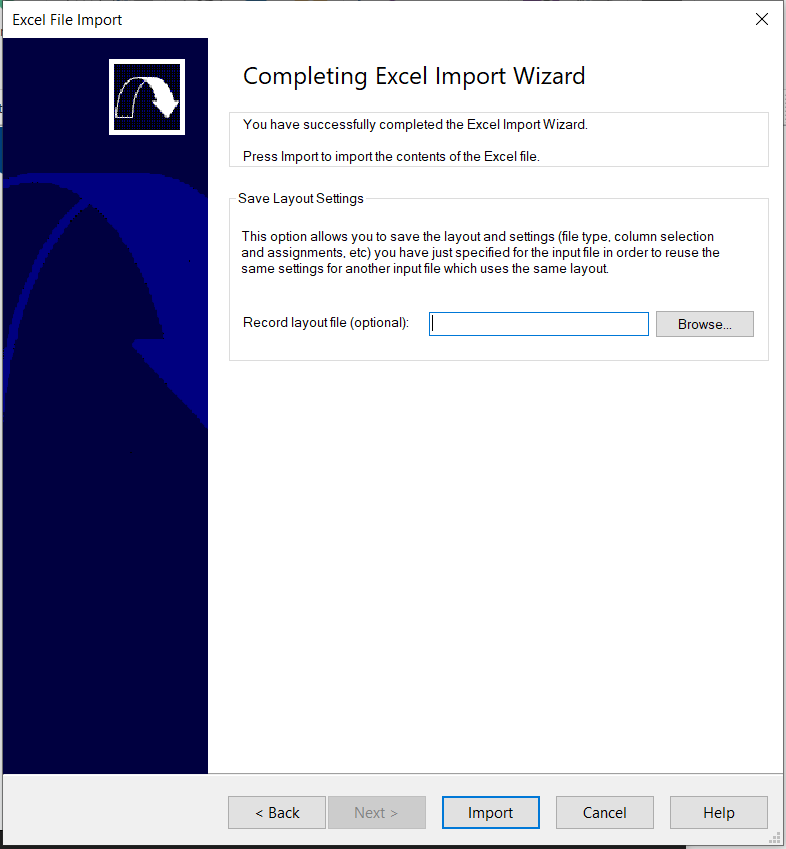
7. Select Import to complete the import routine.
- Related template: None
- Software platform: Working Papers 2022, Working Papers 2023