How to Sign Out a file
The sign out process is to transfer a file from a network location to a hard drive on your local machine.
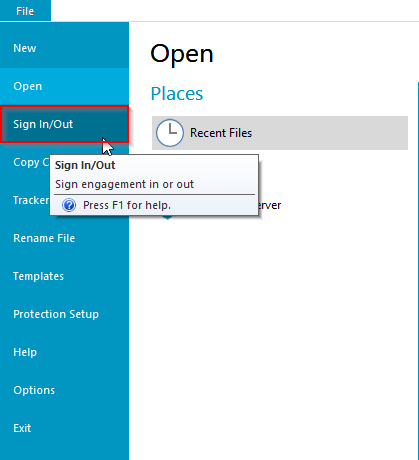
1. Launch Working Papers and click on the Sign In/Out option.
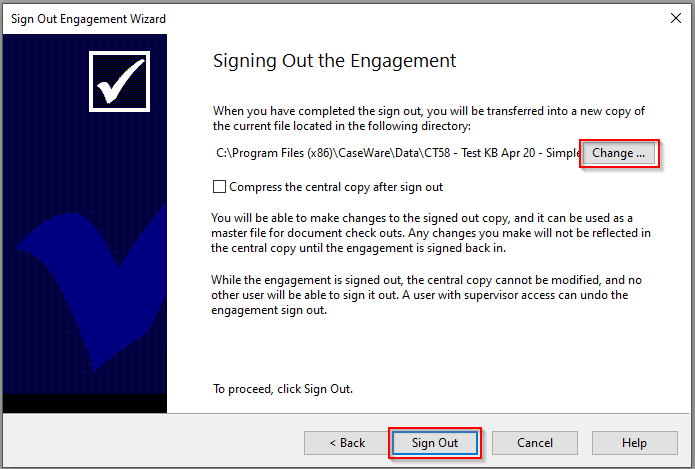
2. The Sign Out Engagement wizard will open. The location of the file defaults to your data folder but this can be changed by clicking the change button.
This process creates a copy of the file on your local machine.
3. Click Sign Out to complete.
4. After signing out, the file you will be working on is called the Signed Out Master. This is the live version of the file.

Note: We recommend closing down this version and re-launching the file from your local machine, just to double check you have signed the file out to your local drive.
5. A copy of the file will remain in the network location, this is known as the Central Copy. This is a Read-only version of the engagement and cannot be used as a live file.

6. Other users that open the Central Copy can establish who is the owner of the Signed Out Master by looking at the Status Bar at the bottom of the screen.

Once your work is finished on the Signed Out Master copy, it is necessary to Sign the file back in.
For guidance on signing a file in, click here.
- Related template: None
- Software platform: Working Papers 2018, Working Papers 2019, Working Papers 2020, Working Papers 2021, Working Papers 2022